In part one I explained what Electron is and why we want to use it to build cross-platform applications.
In this article, I will show you the tools needed for development. You will also learn about the architecture of an Electron application. We will then build our first application.
Getting started
If not already done, you need to install Node.js on your machine. As with any programming language, platform, or tool that doesn’t come bundled with Windows, getting up and running with Node.js takes some initial setup before you can start hacking away. In my experience, though Node.js has a far better installation experience on Windows than virtually any other language, platform, or tool that I’ve tried to use – just run the installer, and you’re good to go.
Here’s the abbreviated guide, highlighting the major steps:
- Open the official page for Node.js downloads and download Node.js for Windows by clicking the “Windows Installer” option
Run the downloaded Node.js.msiInstaller – including accepting the license, selecting the destination, and authenticating for the install.
There is also an installer for Mac. You are running Linux? Take a look at the “How to install Node.js on Linux” tutorial. - This requires Administrator privileges, and you may need to authenticate
- To ensure Node.js has been installed, run
node -vin your terminal – you should get something likev8.9.4 - Update your version of npm with
npm i -g npm - This requires Administrator privileges, and you may need to authenticate
- Congratulations – you’ve now got Node.js installed, and are ready to start building!
To create/edit the source code for your application, use your favorite text editor. I’m going to use Visual Studio Code which is built on… you guessed it… Electron!
Optional, you might want to install Git or any other SCM of your choice.
Electron Application Architecture
To start with Electron development, create a folder on your local machine that holds the project files. I am using c:/projects/electron as the root for my Electron projects.
A simple Electron application has the following structure:
index.htmlmain.jspackage.jsonrender.js
The file structure is similar to the one we use when creating web pages.
index.htmlwhich is an HTML5 web page serving one big purpose: our canvasmain.jscreates windows and handles system events. It handles the app’s main processespackage.jsonis the startup script for our app. It will run in the main process and it contains information about our apprender.jshandles the app’s render processes
You may have a few questions about the main process and render process. What the heck are they and how can I get along with them?
Glad you asked. Hang on to your hat ’cause this may be new territory if you’re coming from browser JavaScript realm!
What is a process?
When you see “process”, think of an operating system level process. It’s an instance of a computer program that is running in the system.
When you start your Electron app and check the Windows Task Manager or Activity Monitor for macOS, you can see the processes associated with your app.
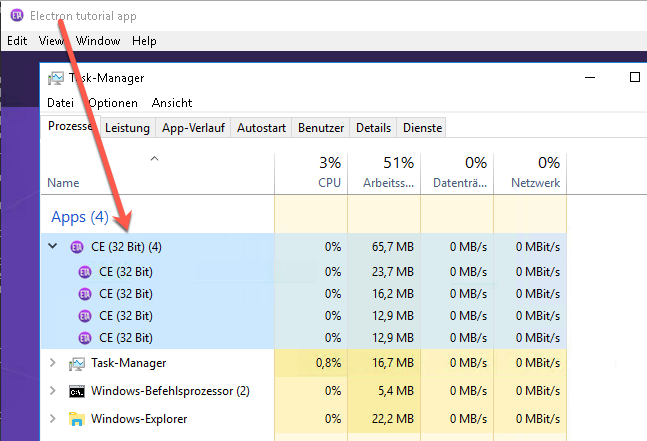
Each of these processes run in parallel. But the memory and resources allocated for each process are isolated from the others.
Main process
The main process controls the life of the application. It has the full Node.js API built in and it opens dialogs, and creates render processes. It also handles other operating system interactions and starts and quits the app.
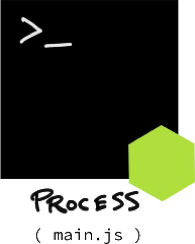
By convention, this process is in a file named main.js. But it can have whatever name you’d like.
Render process
The render process is a browser window in your app. Unlike the main process, there can be one to many render processes and each is independent.
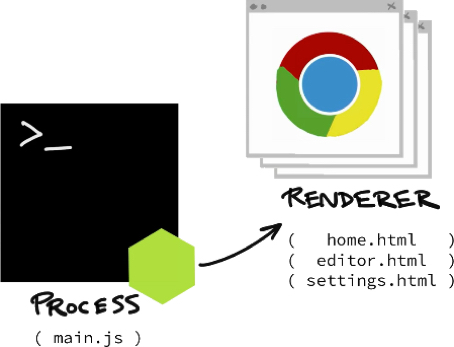
Because every render process is separate, a crash in one won’t affect another. This is thanks to Chromium’s multi-process architecture.
If all processes run concurrently and independently, one question remains. “How can they be linked?”
For this, there’s an interprocess communication system or IPC. You can use IPC to pass messages between main and render processes. I will explain IPC in an upcoming article.
Too much theory? OK then …
Create a simple Electron application
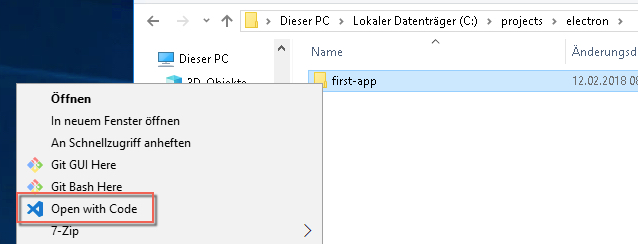
Create a new folder first-app in your Electron project folder c:/projects/electron.
Open the first-app folder with Visual Studio Code. Also open a new cmd window / terminal.
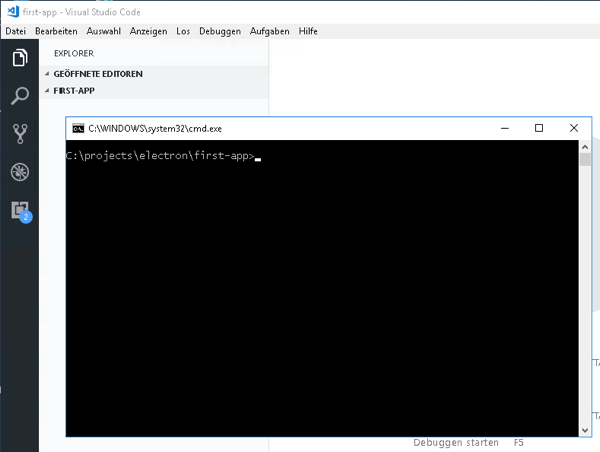
Next run npm init from the commad window
C:\projects\electron\first-app>npm init
This utility will walk you through creating a package.json file.
It only covers the most common items, and tries to guess sensible defaults.
See `npm help json` for definitive documentation on these fields
and exactly what they do.
Use `npm install ` afterwards to install a package and
save it as a dependency in the package.json file.
Press ^C at any time to quit.
package name: (first-app)
version: (1.0.0)
description: Sample Electron Application
entry point: (index.js) main.js
test command:
git repository:
keywords:
author: Ulrich Krause
license: (ISC) MIT
About to write to C:\projects\electron\first-app\package.json:
{
"name": "first-app",
"version": "1.0.0",
"description": "Sample Electron Application",
"main": "main.js",
"scripts": {
"test": "echo \"Error: no test specified\" && exit 1"
},
"author": "Ulrich Krause",
"license": "MIT"
}
Is this ok? (yes)
Just follow the steps and fill in the information that is needed. I only changed the “main” value from index.js to main.js.
If everything looks good, confirm the last question. This will create a package.json file in the first-app folder. The file is also available in VS Code.
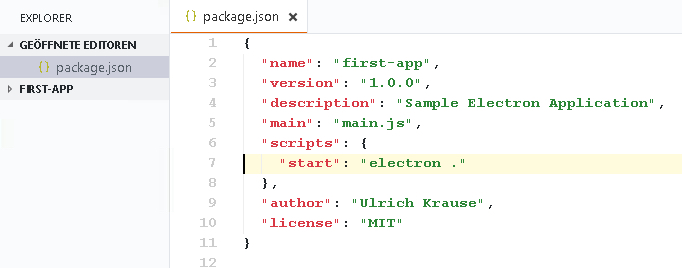
Open package.json, remove "test": "echo \"Error: no test specified\" && exit 1" and add "start": "electron ." in the script section.
Your file content should now look like this.
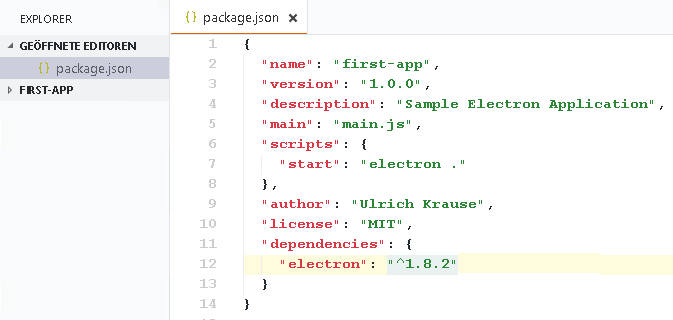
Run npm install --save electron. This will download and install Electron and add it as a dependency to our package.json file.
C:\projects\electron\first-app>npm install --save electron

> electron@1.8.2 postinstall C:\projects\electron\first-app\node_modules\electron
> node install.js

Downloading SHASUMS256.txt
[============================================>] 100.0% of 3.43 kB (3.43 kB/s)
npm notice created a lockfile as package-lock.json. You should commit this file.
npm WARN first-app@1.0.0 No repository field.

+ electron@1.8.2
added 152 packages in 44.765s
That’s it for now, so lets close the file and lets create our main.js file, which is our main process file.
Here we gonna bring in a couple of things, of course Electron.
const electron = require('electron');We also wanna bring in a couple of core modules. Bring in the URL module, which is a core node.js module.
const url = require('url');And then also the path module
const path = require('path');Next we grab some stuff from Electron. We need the app object and we also need the BrowserWindow object.
const {app, BrowserWindow} = electron;Next thing we wanna to is to create a variable representing our main window
let win;Lets work on the main window now
In Electron, what we have to do first is listen for the app to be ready. We do that by saying
// run create window function
app.on('ready', createWindow);
And once the app is ready, we run a function createWindow and this is where we want to create our window
win = new BrowserWindow ({width:800,height:600});Next thing is to load the HTML file into our browser window. We don’t have the HTML file yet, so lets create it.
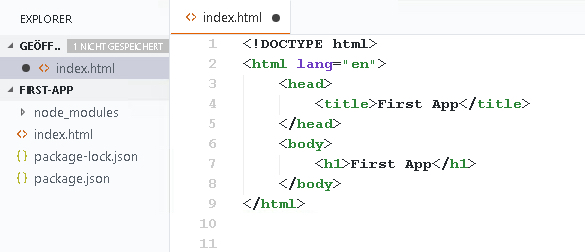
That’s all we want to do for the HTML right now. Back to main.js and we’re going to take the win object and call
win.loadURL(url.format({
pathname: path.join(__dirname, 'index.html'),
protocol: 'file',
slashes:true
}))
This will simply pass whatever the current directory is plus the index.html, using the file protocol into the loadURL method.
Your main.js file should now have the following content
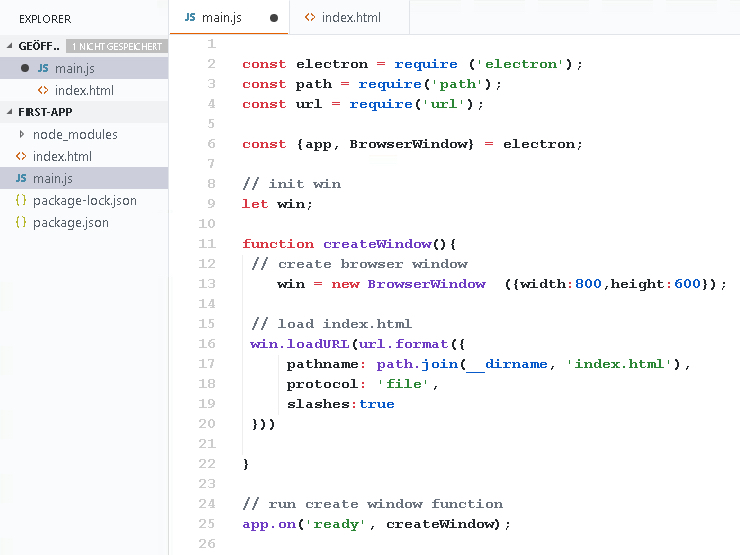
Actually, now we can try out our application for the first time.
run npm start from the command line and here we go.
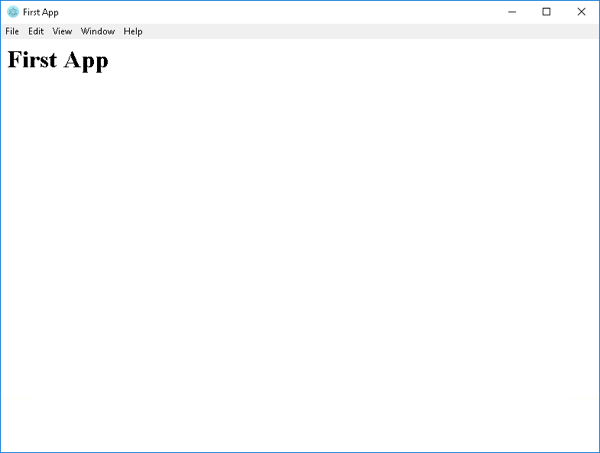
Since we don’t havn’t create our own menu items or anything, we have the default menue, which has File and Edit options as well as View where we can toggle DevTools and stuff.
Congratulations! You have successfully created and run your first Electron application.
In the next part of this tutorial, we will dig deeper into Electron and add some functionallity to our application.
Danke Ulrich – klasse!
Hi,
Tried this but it doesn’t load the html file
Try with your own html.
Very interesting.
Two things (as the article is written for noobs):
– explain briefly what nmp is/does
– mention that the html needs to be saves as index.html
Thanks for doing this. It’s tempting to start experimenting right away!