Electron – Cross Platform Desktop Apps Made Easy (Part 6) #ibmchampion
 Following part 1 – 5 of the Electron tutorial you’re probably ready with the design, preparation and debugging of your app.
So you are ready to create your first release. You have no clue, how to do that? No worries!
In this article you are going to learn how to create a release of your Electron app for different platforms (Windows, Mac, Linux) and in all architectures (x32, x64) using the electron packager module.
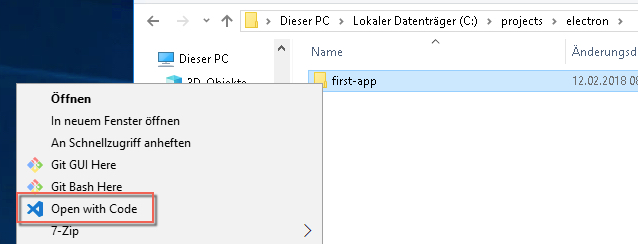
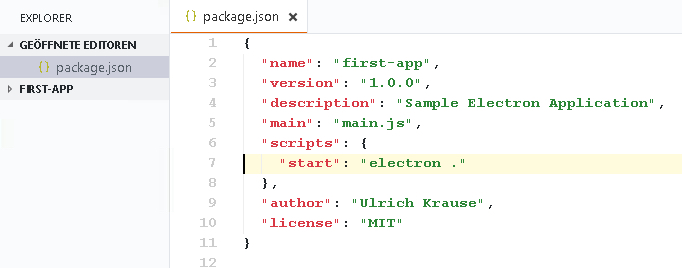
Lets prepare our projects folder first. For this article, I copied the part5 folder and renamed it to part6. Also change the ‘name‘ parameter in package.json to part6
{
  "name": "part6",
  "version": "1.0.0",
  "description": "",
  "main": "app.js",
  "scripts": {
    "start": "electron ."
  },
  "author": "Ulrich Krause",
  "license": "MIT",
  "devDependencies": {
    "electron": "^1.8.2"
  }
}
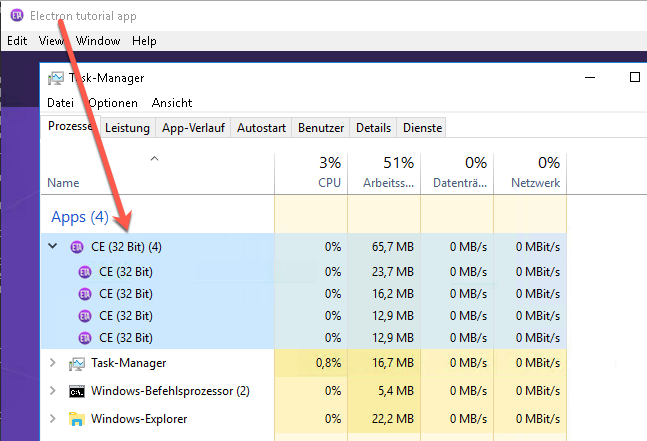
Electron Packager is a command line tool and Node.js library that bundles Electron-based application source code with a renamed Electron executable and supporting files into folders ready for distribution. Note that packaged Electron applications can be relatively large (40-60 MB).
Electron Packager is known to run on the following host platforms:
- Windows (32/64 bit)
- OS X
- Linux (x86/x86_64)
It generates executables/bundles for the following target platforms:
- Windows (also known as win32, for both 32/64 bit)
- OS X (also known as darwin) / Mac App Store (also known as mas)
Note for OS X / MAS target bundles: the .app bundle can only be signed when building on a host OS X platform. - Linux (for x86, x86_64, and armv7l architectures)
In order to build and package your app, you need to install electron-packager first. You can install it globally or as a dev dependency. We will install electron-packager globally with
npm install electron-packager -g
On OS X, you’ll need root access!
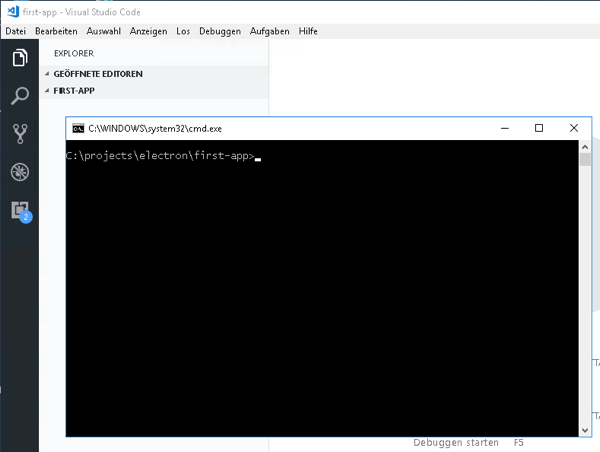
To build an application for a platform you’ll need to execute the following command in terminal / command prompt.
electron-packager <sourcedir> <appname> --platform=<platform> --arch=<arch> [optional flags...]
To build a package from the current directory and for the current platform execute.
electron-packager .
electron-packager will do the following:
- Use the current directory for the sourcedir
- Infer the appname from the productName in package.json
- Infer the appVersion from the version in package.json
- Infer the platform and arch from the host, in this example, darwin platform and x64 arch.
- Download the Windows x64 build of Electron (and cache the downloads in ~/.electron)
- Build the Windows part6.app
- Place part6.app in part6/part6-win32-x64/ (since an out directory was not specified, it used the current working directory)
To build packages for all hosts and platforms, you can execute
electron-packager . --all
Please keep in mind that’s recommendable to build every platform on it’s respective platform i.e build the Windows version of your app in a Desktop with Windows as operative system.
Although for some platforms is possible to build for other platforms i.e you can build the Linux and Windows versions in a Windows computer, you’ll be unable to create a Mac application in a Windows platform, therefore you need to build it in a Mac environment.
Creating distributables like installers
Now lets create an installer for the application. I am doing this on a Mac, but it also works on any other supported platform.
On my Mac, I have electron-packager installed as a dev dependency ( I do not have root access to the machine 🙁 )
npm install electron-packager --save-dev
Also, we need to install electron-builder. Execute
npm install electron-builder --save-dev
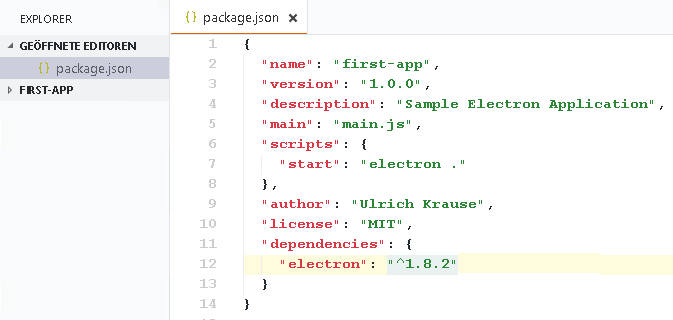
In package.json, electron-packager and electron-builder will be added during installation. ( lines 39, 40 )
Create a new script in the scripts section of package.json. ( line 7 ) and also add lines 12 – 36. package.json should now look like this
{
  "name": "part6",
  "version": "1.0.0",
  "description": "",
  "main": "app.js",
  "scripts": {
    "dist": "build",
    "start": "electron ."
  },
  "author": "Ulrich Krause",
  "license": "MIT",
  "build": {
    "dmg": {
       "contents": [
        {
          "x": 110,
          "y": 150
        },
        {
          "x": 240,
          "y": 150,
          "type": "link",
          "path": "/Applications"
        }
      ]
    },
    "linux": {
      "target": [
        "AppImage",
        "deb"
      ]
    },
    "win": {
      "icon": "build/icon.ico"
    }
  },
  "devDependencies": {
    "electron": "^1.8.2",
    "electron-builder": "^20.0.6",
    "electron-packager": "^11.0.1"
  }
}
If you do not use the source for this article make sure that you at least copy the build folder to your project folder. It contains the icons that are used during the build process. You will get an error about missing icons if the icons are not present.
Next, we can start the build with
npm run dist
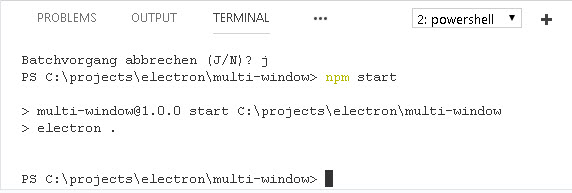
You should see similar output in your terminal
midpoints-macbook-ulrich:part6 ulrich$ npm run dist
> part6@1.0.0 dist /Volumes/DATA/Temp/part6
> buildelectron-builder version=20.0.6
loaded configuration file=package.json (“build” field)
description is missed in the package.json appPackageFile=/Volumes/DATA/Temp/part6/package.json
writing effective config file=dist/electron-builder.yaml
no native production dependencies
packaging platform=darwin arch=x64 electron=1.8.2 appOutDir=dist/mac
skipped macOS application code signing reason=cannot find valid “Developer ID Application” identity …
building target=macOS zip arch=x64 file=dist/part6-1.0.0-mac.zip
building target=DMG arch=x64 file=dist/part6-1.0.0.dmg
building block map blockMapFile=dist/part6-1.0.0.dmg.blockmap
midpoints-macbook-ulrich:part6 ulrich$
You can ignore the warning about code signing for the moment.
electron builder now has created a DMG file. You can now install part6-1.0.0.dmg on your Mac.

(screenshot shows “part5”, I know 🙂 )
If you want to use a different icon for your application, replace build/icon.icns with your own. The filename MUST be icon.icns!
We only have scratched the surface; electron-builder has more options. For a complete list, read
Also, I found electron-forge. Electron Forge isa complete tool for building modern Electron applications. It unifies the existing (and well maintained) build tools for Electron development into a simple, easy to use package so that anyone can jump right in to Electron development.
That’s it for today.
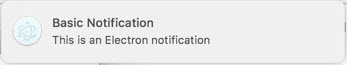 Today, I want to show, how we can use Electron’s Notification Api for Windows, Linux and macOS. All three operating systems provide means for applications to send notifications to the user.
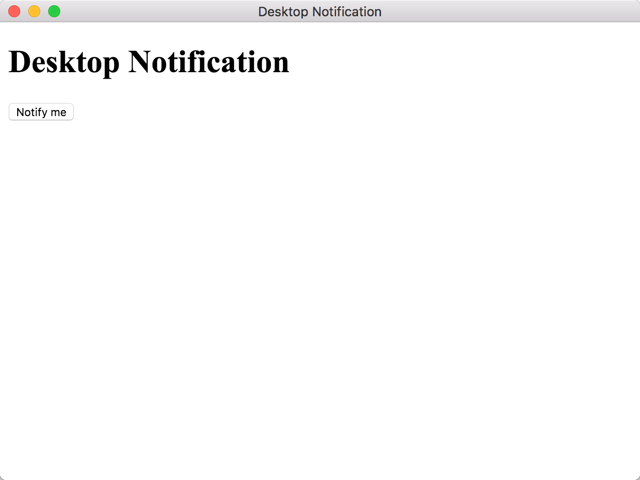


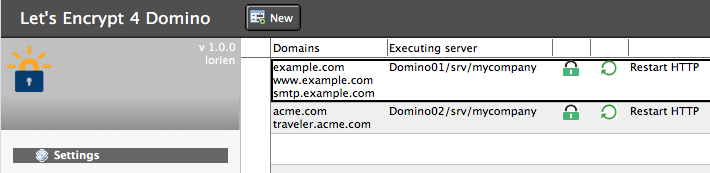
 To enable HTTPS on your website, you need to get a certificate from a Certificate Authority. These certificates can be rather expensive, especially if you have several domains or domains that use subject alternate names (SAN).